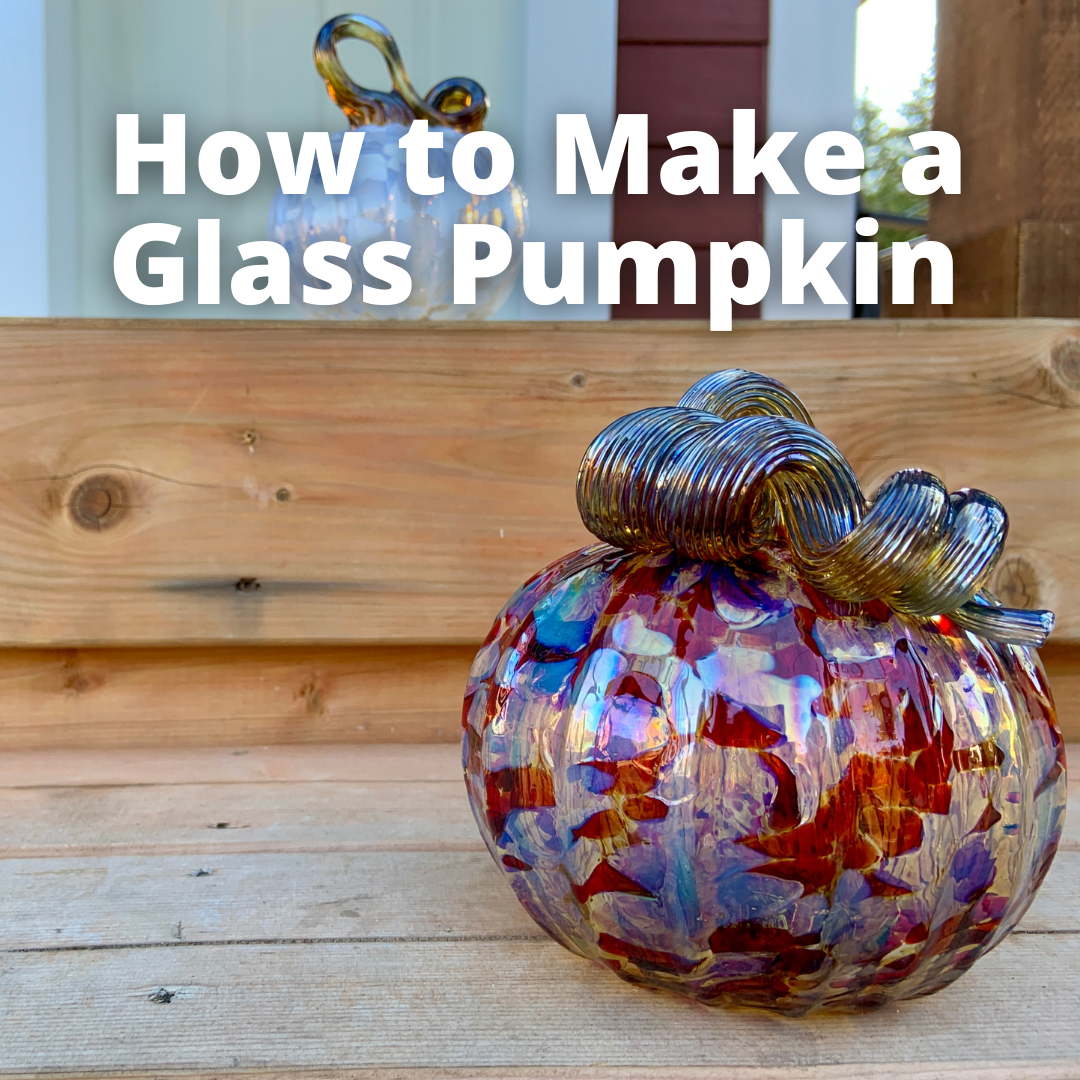
If autumn is your favourite season, you've probably long admired the delicate beauty of glass pumpkins.
Have you ever wondered how they're made though?
See for yourself in our latest video!
If autumn is your favourite season, you've probably long admired the delicate beauty of glass pumpkins.
Have you ever wondered how they're made though?
Here's a quick overview of the steps we take to make these autumnal beauties!
Step 1: Gather the Glass
To start the pumpkin, the glassblower gathers some clear molten glass from the furnace and blows a bubble into it.
Step 2: Adding Colour
What's a pumpkin without some colour? To add the colour, the glassblower rolls the bubble of molten clear glass into small pelletized pieces of coloured glass called "frit." The clear glass is so hot that the frit sticks and melts into it.
Step 3: Give it Ribs
Once the colour has been added, the glass is set into a mold to give the pumpkin ribs or lines.
Step 4: Make it Grow
The last step for the main part of the pumpkin is to make it bigger by blowing more air into the existing bubble inside the glass. Once it's as big as it should be, the glassblower closes in the top of the bubble and cracks it off onto a hotplate to stay warm while the stem is formed.
Step 5: Adding a Stem
No pumpkin is complete without a stem! To make the stem, the glassblower gets a small gather of clear glass, then repeats some of the same steps required for the body of the pumpkin: rolling the gather in frit to add colour and placing the gather in a mold to add lines.
Instead of blowing a bubble though, the gather of glass is popped onto the top of the pumpkin body and then stretched, twisted, and rolled to create a beautiful spiral stem!
And just like that, a glass pumpkin has been formed.
Now see it all for yourself in our latest video!
*
Looking for a beautiful piece of blown glass for your own collection? We may have just the thing, or we might be able to make it for you! Explore our online shop or email us at gallery@grayartglass.com.
